Espresso
 Use Espresso to write concise, beautiful, and reliable Android UI tests.
Espresso tests run optimally fast! It lets you leave your waits, syncs, sleeps, and polls behind while it manipulates and asserts on the application UI when it is at rest.
Synchronization capabilities
Each time your test invokes onView(), Espresso waits to perform the corresponding UI action or assertion until the following synchronization conditions are met:
- The message queue is empty.
- There are no instances of AsyncTask currently executing a task.
- All developer-defined idling resources are idle.
Packages
- espresso-core - Contains core and basic View matchers, actions, and assertions. See Basics and Recipes.
- espresso-web - Contains resources for WebView support.
- espresso-idling-resource - Espresso’s mechanism for synchronization with background jobs.
- espresso-contrib - External contributions that contain DatePicker, RecyclerView and Drawer actions, accessibility checks, and CountingIdlingResource.
- espresso-intents - Extension to validate and stub intents for hermetic testing.
- espresso-remote - Location of Espresso’s multi-process functionality.
Create UI tests with Espresso Test Recorder
The Espresso Test Recorder tool lets you create UI tests for your app without writing any test code. By recording a test scenario, you can record your interactions with a device and add assertions to verify UI elements in particular snapshots of your app. Espresso Test Recorder then takes the saved recording and automatically generates a corresponding UI test that you can run to test your app.
Espresso Test Recorder writes tests based on the Espresso Testing framework, an API in AndroidX Test. The Espresso API encourages you to create concise and reliable UI tests based on user actions. By stating expectations, interactions, and assertions without directly accessing the underlying app’s activities and views, this structure prevents test flakiness and optimizes test run speed.
Turn off animations on your test device
Before using Espresso Test Recorder, make sure you turn off animations on your test device to prevent unexpected results.
but note that you do not need to manually set a dependency reference to the Espresso library because Test Recorder does this automatically when you save a recording. These steps only need to be done once for a given project.
Record an Espresso test
- Espresso tests consist of two primary components:
- UI interactions and assertions on View elements.
- UI interactions include tap and type actions that a person may use to interact with your app
Record UI interactions
To start recording a test with Espresso Test Recorder, proceed as follows:
- Click Run > Record Espresso Test.
- In the Select Deployment Target window, choose the device on which you want to record the test. If necessary, create a new Android Virtual Device. Click OK.
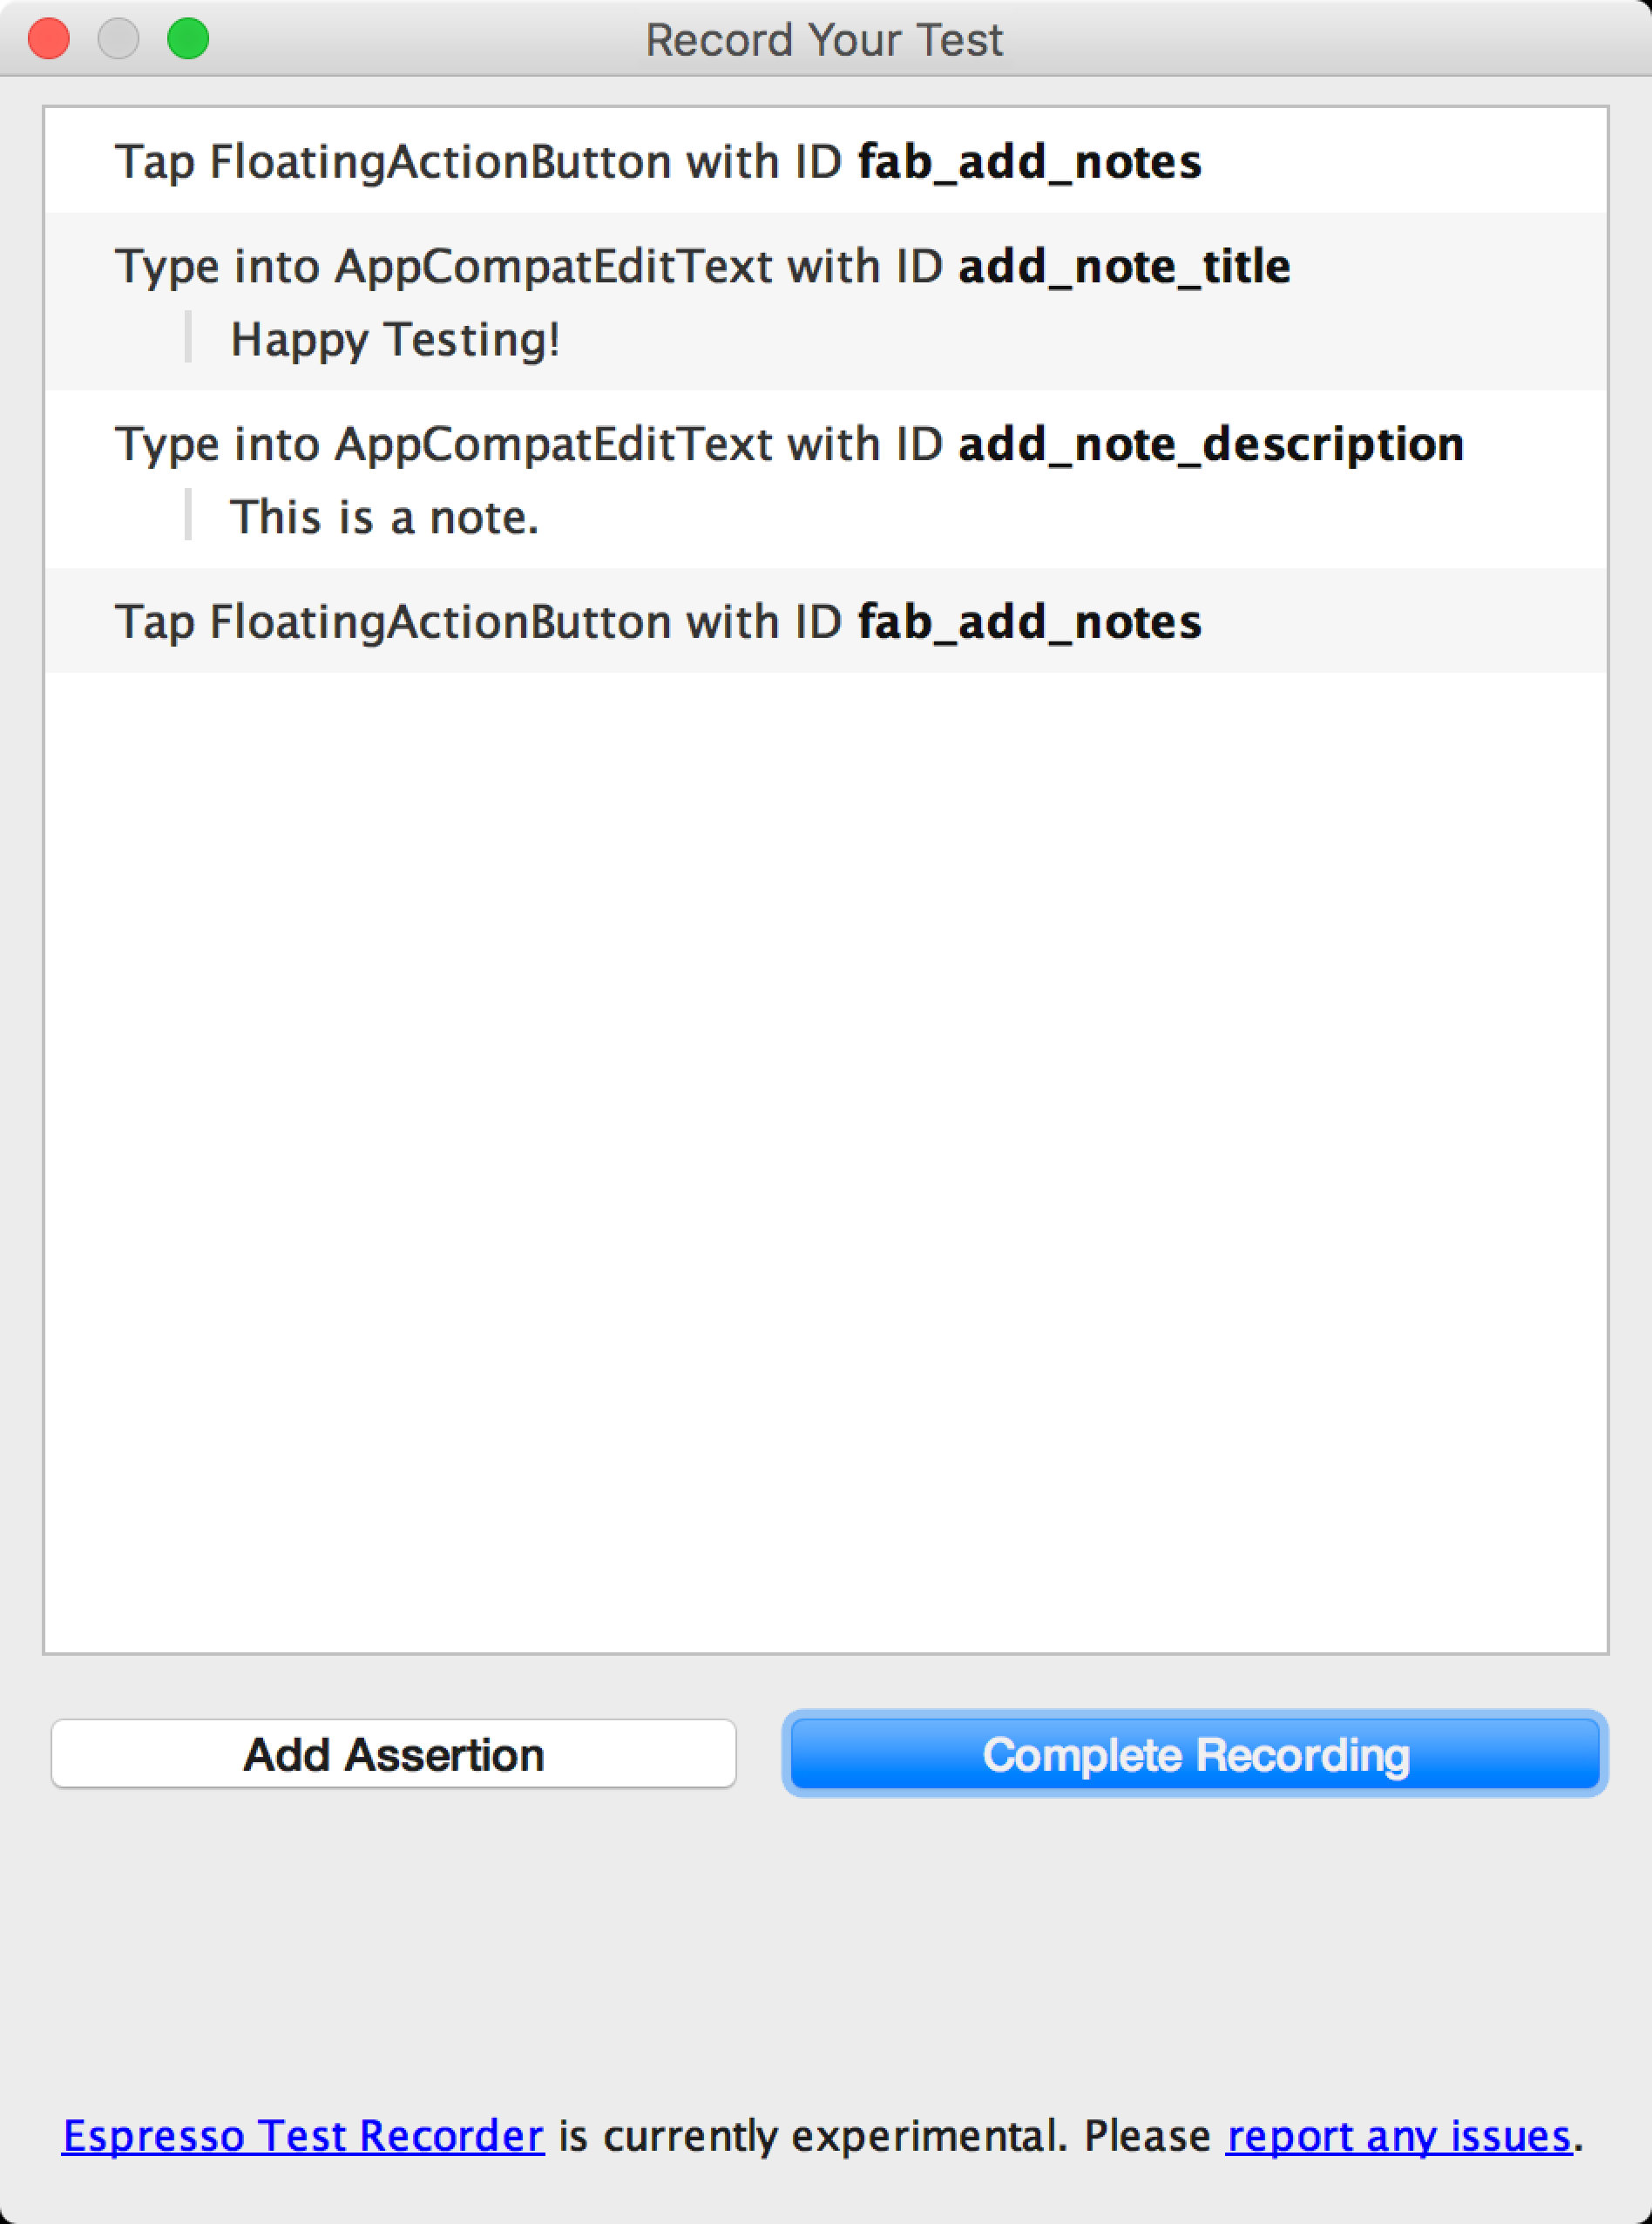
- Espresso Test Recorder triggers a build of your project, and the app must install and launch before Espresso Test Recorder allows you to interact with it. The Record Your Test window appears after the app launches, and since you have not interacted with the device yet, the main panel reads “No events recorded yet.” Interact with your device to start logging events such as “tap” and “type” actions.
Add assertions to verify UI elements
- text is: Checks the text content of the selected View element
- exists: Checks that the View element is present in the current View hierarchy visible on the screen
- does not exist: Checks that the View element is not present in the current View hierarchy
Save a recording
- Click Complete Recording. The Pick a test class name for your test window appears.
- Espresso Test Recorder gives your test a unique name within its package based on the name of the launched activity. Use the Test class name text field if you want to change the suggested name. Click Save.
- The file automatically opens after Espresso Test Recorder generates it, and Android Studio shows the test class as selected in the Project window of the IDE.